Wednesday, April 30, 2014

You've Got a Friend - May Stamp of the Month Blog Hop

Hello and welcome to our May stamp of the month blog hop! If you've arrived here from Michelle Stewart's blog, or if you're just starting out, you're in the right place.  In case you get lost along the way, I have a list of all the participants right here.

This month's stamp set contain 5 unique images that are just crying out to make cards. Of course, most of them would also be a great addition to a scrapbook layout as well.  I chose to make notecards with mine, and for today I decided to do something different for me; there is NO patterned paper on these. I used patterns from our Wishes how-to book for all three cards. Check them out:


May means we are finally nearing the end of the school year, so I started with a card for a teacher. I stamped the image with Outdoor Denim on both Sky and Pacifica cardstock, cut out the layers I wanted, and sponged with Pacifica ink. The Honey Triangles are Washi Tape, and the chevron pattern is made with our new Chevron Embossing Folder on Cranberry cardstock. After embossing, I sponged some Cranberry ink on the piece to really play up the depth.

Note: on the embossed piece, the blank area at the top is created by placing my paper all the way against the fold at the top of the folder.  If you want all pattern, you simply need to place your paper lower in the folder.


Here's another that I thought would be great for a teacher.  I stamped the image on Smoothie cardstock with Ruby ink and on Sweet Leaf cardstock with Topiary ink.  I then cut out the layers I wanted and sponged the leaf with Pear ink and the apple with Cranberry ink. I used Smoothie Stripe Washi Tape for the patterned strip on the end. The green patterned strip is Sweet Leaf cardstock embossed with our Quatrefoil Embossing Folder and sponged with Pear ink.


Finally, I created a card with the namesake stamp in the set. This phrase still reminds me of Toy Story so I used a "Woody" color scheme. The background pattern is created with one of the stamps from the Art Philosophy Cricut cartridge collection, and the tag is also cut with this cartridge.  I used Honey and Pacifica cardstock and ink, Cranberry ink, and Woodgrain Washi Tape. I added some twine to tie on the tag.

I hope you liked my ideas today. I also have a stunner 5x7 card, but I can't share it until later in the month because it's being published in Create magazine. Be sure to stop back later in the month (or subscribe by email or follow on Bloglovin') to see it!  Now, when you're ready we can go visit Sheila Bennett's blog and see what she came up with this month.

If you're ready to shop, here's the list of supplies I used:

Monday, April 28, 2014

I'm Back! And It's Monday

I was on a family vacation last week, and my good intentions to blog did not pan out! But I'm back today and ready to play along with another Mojo Monday. This week's sketch is a Tall & Skinny, which I decide to turn on its side.


I thought the 3.5 x 6 size was perfect for graduation cards - just the right size for cash or a check (or not, lol).


I picked a couple of colors out of the patterned paper for each card. I tried to focus mostly on the color of the recipient's school and add a second accent.  I used stamps to create the tone on tone paper as well as the sentiment and the image in the circles.


A different look just from different focal colors and placement of the patterns. For both cards, I used some Shimmer Trim for the skinny strip; I cut one strip in half lengthwise and used half on each card.

Supplies used:
  • Graduation Fanfare patterned paper - Karen Foster Design
  • Goldrush, Ruby, and Topiary cardstock - Close To My Heart
  • Blue cardstock scrap - brand unknown
  • Black patterned paper - discontinued Close To My Heart
  • Black Shimmer Trim - Close To My Heart
  • Congrats Graduate acrylic stamps  - Close To My Heart
  • Exclusive Inks stamp pads in Goldrush, Ruby, Topiary, and Indian Corn Blue - Close To My Heart
  • Sponge Daubers

Tuesday, April 15, 2014

The Wonderful World of Washi!

Hello and welcome to a special Washi Tape Blog Hop! If you've been looking for ideas to use all that pretty washi tape you've been hoarding, or if you've been wondering what all the fuss is about, this is the hop for you! I you arrived here from Melinda's If You Bling It blog, or if you are just starting out, you are in the right place. So let's get hopping!

My favorite thing about washi tape is that it's super thin - layer it up without adding bulk to your projects! If you're new to washi tape, you can use it just like ribbon or strips of cardstock without adding bulk. I love to make lumpy bumpy projects, but it's not always practical. Let's start with this card:


Check out all those layers! The gold dots, ruby chevron, lagoon houndstooth, and smoothie stripe are all washi tape. I used some Teal Shimmer Trim next to the gold dots, using a punch for the scalloped edge. The lagoon square is cardstock, embossed with a Chevron Embossing Folder. The circle is Colonial White cardstock, stamped in Lagoon and Ruby ink and the Perfect Fit - Birthday stamp set. I based this card on this week's Mojo Monday sketch, so I'm linking up over there.

Now, how about a super CAS card? Check  this out:

Nothing but washi tape and ink! No chance of that being mangled in the mail! The sentiment is from the same Perfect it - Birthday stamp set I used above.

Of course, washi tape does not have to be limited to your paper projects. Here are a couple of simple ideas for the home:


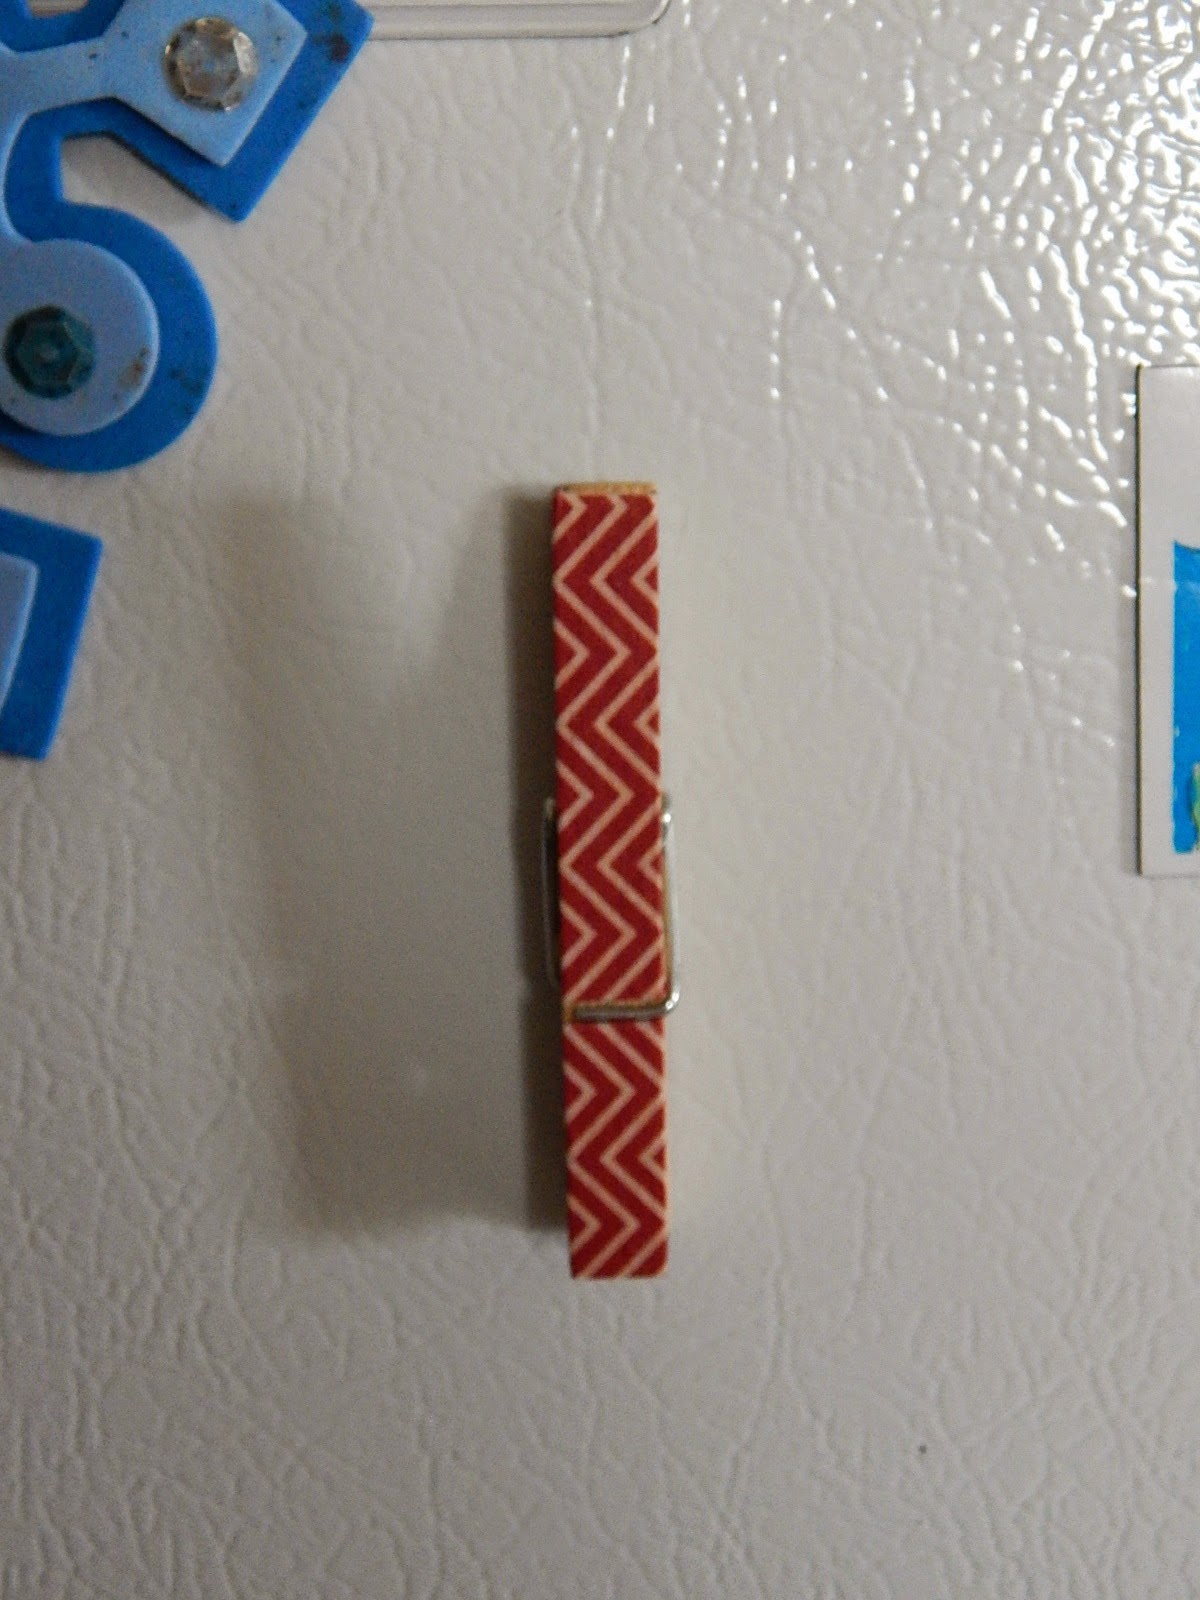
This is a super simple note holder for your fridge - just cover one side of a wooden hinged clothespin with washi tape, add a magnet strip to the other side, and you're done!  Want a matching pencil cup? Recycle an empty can and cover it in strips of washi tape. (I was going to make one, but someone actually took all of the recycling out to the curb this week!)


And finally, add a little personality to the room with a washi tape light switch cover! Since it's super thin, it easily goes around curves and over to the back side. It's easy to cut with a knife - just slice an "X" in the center of the switch hole and fold it over to the back.  And the best part is that it's easy to change whenever you want!  I made this one for the craft room (which is the front room in our house), but I would love different versions of this in pretty much any room!

I hope you enjoyed my ideas today - be sure to leave me a little comment before we head over to Michelle Jones' blog and see what she came up with. I can't wait to see everyone's ideas!

Wednesday, April 9, 2014

Cute As a Button - Mojo #3

Today I have my final (probably) card using this week's Mojo Monday sketch. I think this is a really fun versatile sketch his week, and here's another example: a baby boy card.


I'm debating if I need to replace that green panel - I died the seam binding with Slate ink, and apparently it wasn't as dry as I thought before I assembled.  In person, I don't really mind it much... it just seems like a little more distressing.

So, here are the details: the buttons are cut with the Artiste Cricut cartridge and 2 of them are stamped with the Buttons, Bits, and Bobs stamp set.  I ink distressed them all with coordinating ink on Sponge Daubers. All of the other papers are sponged with Chocolate ink, and the sentiment (from the same stamp set) is also stamped in Chocolate on a banner cut at 1" from the Artiste Cricut cartridge.

The blue pattern paper is from the Balloon Ride paper pack, and the green pattern is from Ariana.  The patterned button was a scrap from the discontinued Avonlea paper pack.

Now that I look at this more, I think I may need to make a girl version of it too! I think it would look great with a floral print...

Supply List:

Tuesday, April 8, 2014

Take 2 - Mojo Monday Country Style

Well, with my back still bothering me a little, I'm sticking to another card for today.  I really love the simplicity of this week's Mojo Monday sketch so I have another version of it. Are you ready to go to the country?


I had a county fair in mind when I made this one, and pulled out the Jubilee paper pack from CTMH to start.  I just love the barn board styled paper with the tone on tone pattern - SO reminds me of growing up in the country.


The yellow circle is simply punched from a pattern paper in the pack.  The red circle is a Hot Off the Press stamp in Colonial White pigment ink on a Cranberry cardstock punched circle. The final circle and the ribbon are cut with the Artiste Cricut cartridge and stamped with Kudos - one of the stamp sets that come with it. Finally. the center badge is from the Jubilee Assortment, a set of 9 fun adhesive badges.

I hope you enjoyed Take 2 of this week's Mojo Monday sketch! I do have one more idea in mind that I hope to get to tomorrow.

Supplies used:

Monday, April 7, 2014

Hi There! It's Mojo Monday

What better way to start the week than with Mojo Monday?  Well, I've been having some back problems, not helped at all by sleeping on a museum floor with some Girl Scouts this weekend, so I'm not going to be crafting much for a few more days.  Luckily, a card to fit this week's MM sketch only took a few minutes of sitting so I was able to play along. I'm also linking up to this week's Cricut Challenge at Heart 2 Heart Challenges.


Isn't that a sweet simple card?  I added a little detail with some sponged edges, foam adhesive, and sparkly centers for the flowers.  Added a great little wow factor, but without a lot of added time.

Supplies used to make this card:
Let me know what you think of my take on this week's Mojo Monday sketch. I have a couple of other ideas for this sketch, but I can't work on them today! I hope to get to them later in the week.
Related Posts Plugin for WordPress, Blogger...